Breaking into Ice Climbing
An introduction to icy ascents.
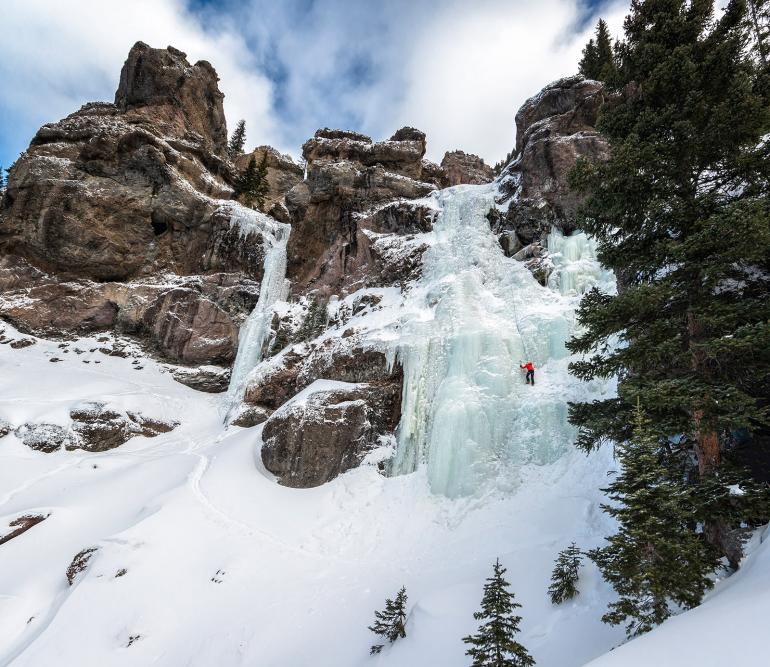
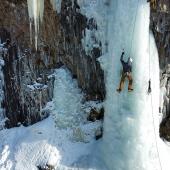
Ice climbing isn’t just for extreme alpinists anymore, as more climbers of all levels are staying in the harness come winter. And Hyalite Canyon is an excellent place to progress. Here are some pointers for breaking the ice. For the fastest and safest learning process, hire a guide or sign up for a clinic.
Gear Up
If you already rock climb, you’ve got a leg up, so to speak. Rope, harness, and helmet are the main essentials, in addition to climbing boots. Eye protection is crucial. Of course, you’ll need crampons and ice tools, but if you’re top-roping, you can share these with your partner. Once you start leading, pick up six or seven ice screws. Don’t forget ice-clippers: plastic carabiners specifically designed for racking screws. Be cognizant of avalanche terrain, and carry the requisite safety equipment.
Ice climbing isn’t just for extreme alpinists anymore, as more climbers of all levels are staying in the harness come winter.
Top-Rope
There’s no better way to learn ice climbing than by climbing a bunch of pitches on top-rope. There are several climbs in Hyalite that are top-accessible, so you can set up a rope without having to lead: Genesis I, Genesis II, Lower Greensleeves, Fat Chance, and Mummy I, to name a few. You should feel very comfortable top-roping before starting to lead. If the area is busy, be sure to share the ice.
Mock-Lead
You may already know this technique from rock climbing: “mock-leading” lets you practice placing protection with the safety of a top-rope. Simply tie into the opposite end of the rope—the end below your belayer—and clip it into protection along the way. Placing an ice screw with one arm while hanging from the other can be tricky at first, but becomes easier with practice.
Body Position
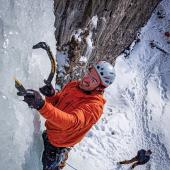
Keep your hands close together and your feet spread apart, forming an upside-down Y-shape with your body. You need to pull straight down on your tools to prevent the picks from twisting out, so keep them in line with your nose. This can be unintuitive for rock climbers who are used to pulling sideways on holds. If you need to move sideways, step a foot out first for stability.
Hand Position
When swinging the tool, hold the grip like you’re throwing a dart—the back of your hand should be facing toward you. This will help engage your wrist for a faster swing, which results in a better stick. Once the pick feels solid, wrap your fingers around the grip and relax. The most common mistake among beginner ice-climbers is over-gripping the tools.
Switching Hands
Most modern ice tools are designed with an upper and lower grip position. You’ll mainly be using the lower grip, but the upper grip can help you rest or move sideways. Place your tool solidly, then stick out your thumb from the lower grip like a hitchhiker. Use your thumb as a hook for the pick of the tool in the opposite hand, then place that hand on the upper grip. Now you can shake out, or move sideways without crossing your hands over each other.


