Workin' for the Weekend
Building a basecamp in the Montana woods.
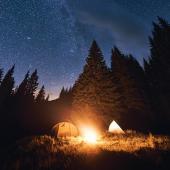
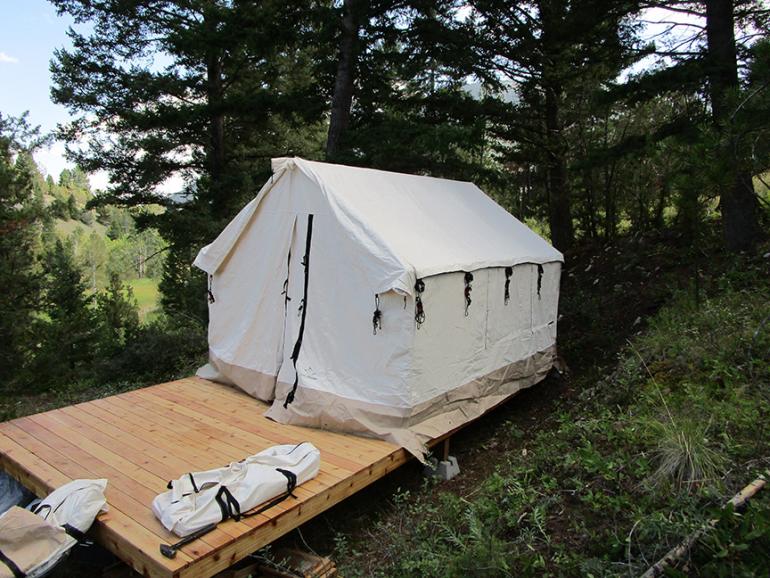
The dream finally came true: a piece of land was all ours. It wasn't the sprawling, idyllic (read: quixotic) tract complete with burbling stream and remote alpine setting, far from the trappings of civilization. No, this was a scant three acres, right off a county road, with houses across the street and road noise filtering in from the highway. But it bordered national forest, and we desperately needed a nature retreat, an occasional escape from bustling Boz Angeles. So we signed the papers and spent the very next weekend there, camped out under a starlit sky, grateful to have our own little piece of paradise.
Now, how to make the place more comfortable, as the days shortened and the air cooled? After the hefty purchase price, we didn't have much cash left. So we did some research and decided that a wall tent would do the trick, at least for now. White Duck Outdoors seemed like a solid option, with their 10X12 cotton-canvas Alpha tent coming in at $2,250. Quality construction, old-school customer service, and stellar reviews... we felt confident in the company and the product. Once it arrived on the front porch, it was time to get busy building our second home. Here's how we did it.
Step One: The Platform
Getting the tent up off the ground is important, especially for long-term digs. You don't want bugs in your bedding or mice mawing on the air mattress. Critters are gonna get in regardless, unless the platform's on stilts; but the fewer, the better.
I bought a pile of lumber from Emmer Brothers Cedar in Belgrade—western red cedar, as I wanted it to withstand the elements and require as little maintenance as possible. First I built the frame, leveling it out on concrete post bases, which took some time and patience given the uneven ground. The next day I installed the joists and then finally, the floorboards. After a coat of clear stain and a crap-ton of decking screws, the end result was a strong, stable, weatherproof, and—if I do say so myself—fine-lookin' platform that should serve us well for years to come.
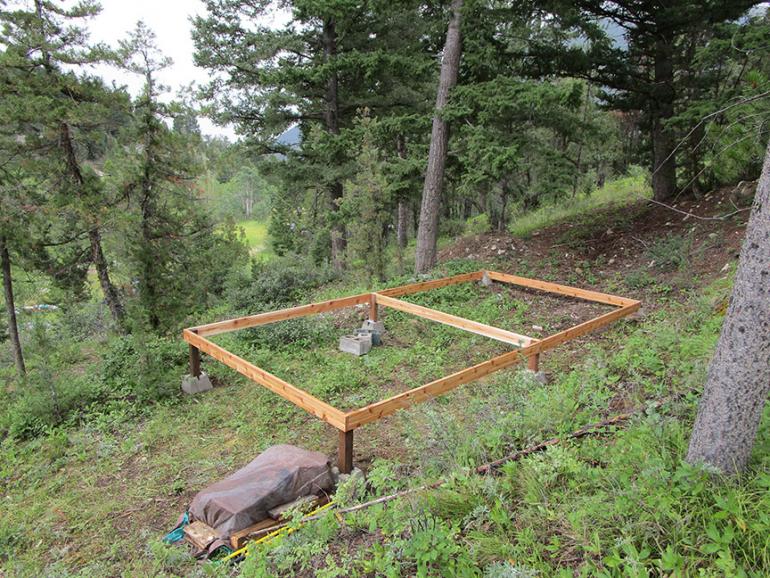
10x20 frame, for tent and porch area
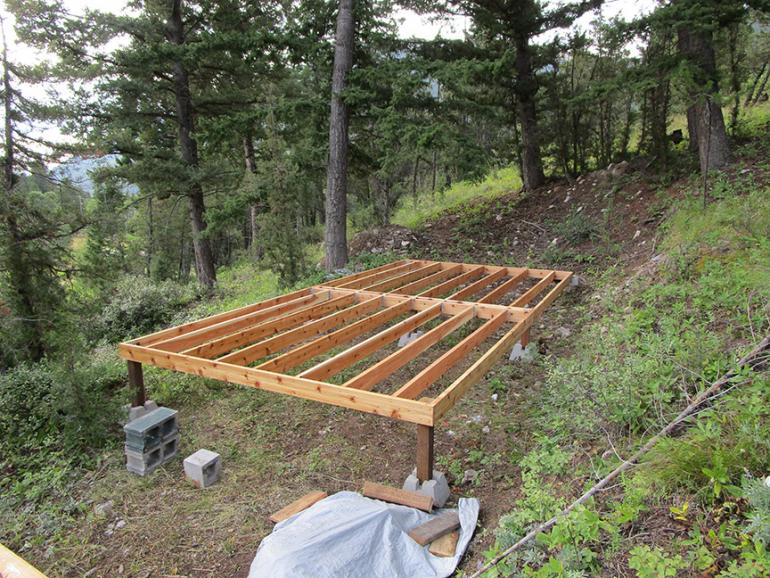
Sideways joists to accommodate 10' floorboards
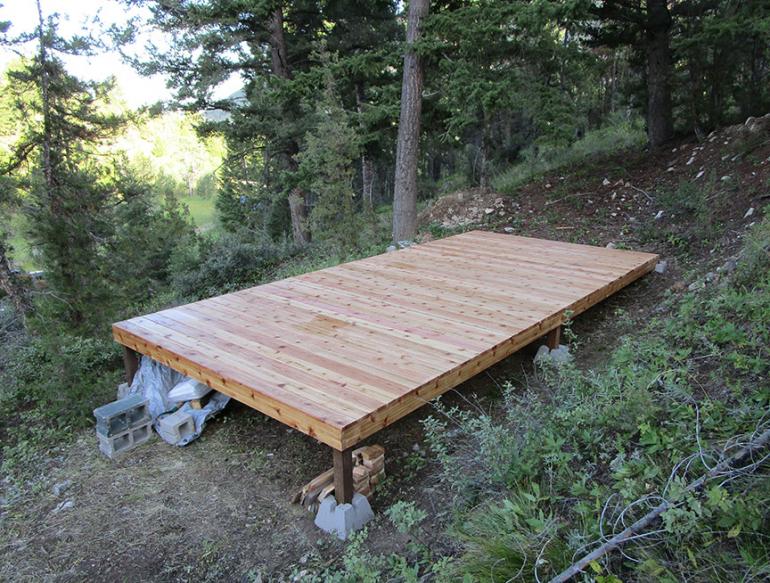
Solid, spacious platform
Step Two: Erecting the Tent
White Duck suggests 2-3 people to put the tent up, but after a dry-run in the back yard (at which time I "seasoned" the tent, spraying it down with water to bind the fabric together), I figured I could do it myself out there in the woods—provided I made the appropriate provisions, took my time, and was careful about everything. Which is exactly what I did, and the tent went up perfectly fine.
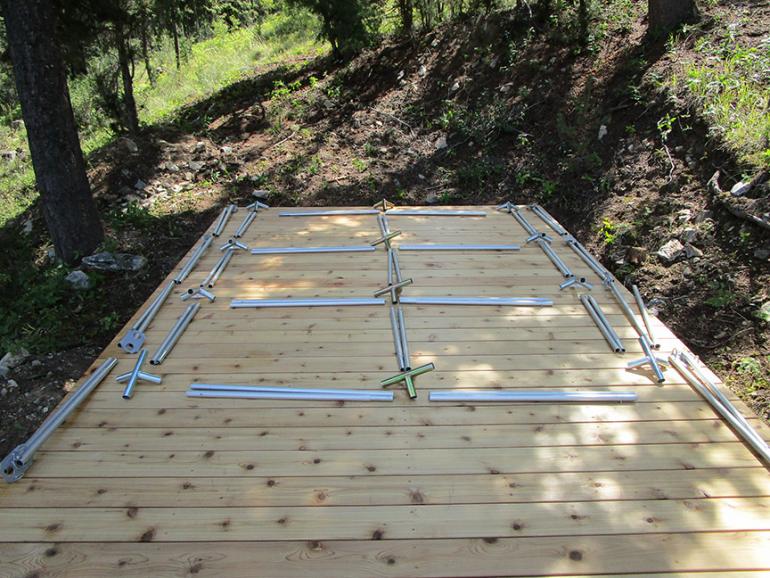
Lay out all the pieces beforehand to ensure everything goes together smoothly
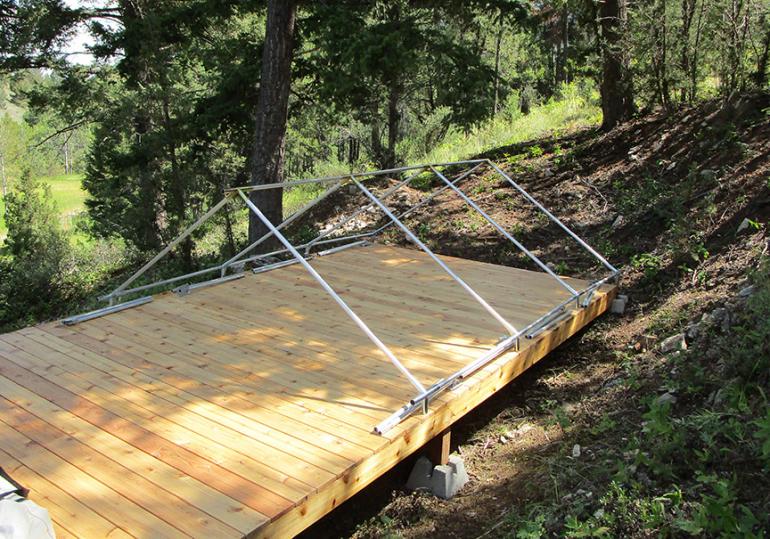
Assemble the roof
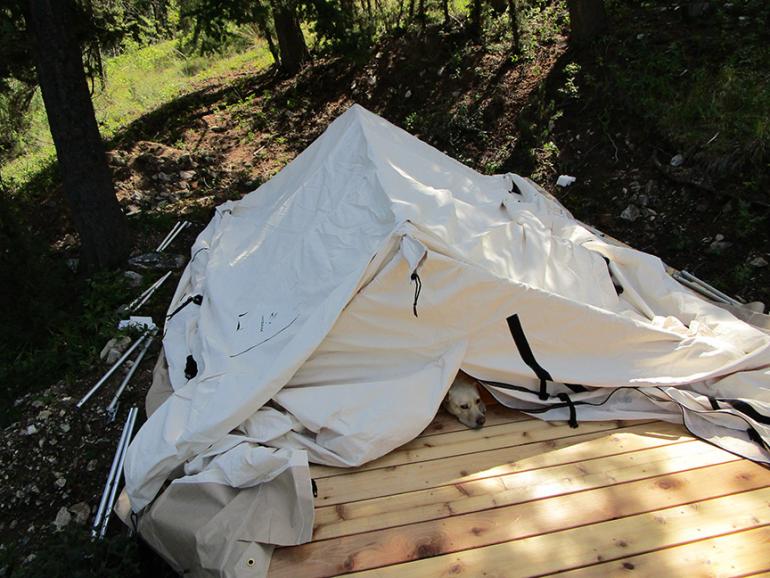
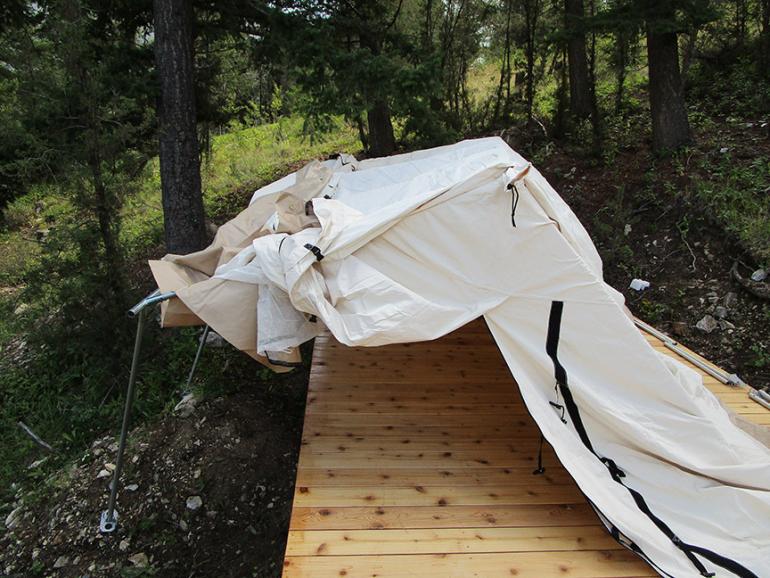
Drape the tent over the roof, line up the sides properly, and stretch out all the corners
Assemble one wall at a time, starting with the middle posts
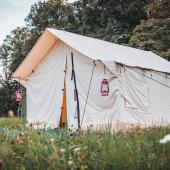
Center it on the platform and voila, she's up
That's not to say there weren't some challenges. Here are some set-up tips, to help expedite your own White Duck wall-tent assembly:
First, mark the poles with a felt-tip pen. There are two sizes and they're hard to tell apart. Mark one set, to help things go smoother and faster.
Second, mind the sharp edges on the wall feet. They're designed to dig into the ground, which means they'll dig into your platform, too. Foam blocks work best, but cardboard will suffice.
Third, bring a chair or step-stool, for reaching up to the center pole. You'll need to make adjustments here and there, and secure the tent to the pole with the velcro flaps. Unless you're a professional basketball player, it'll be out of reach.
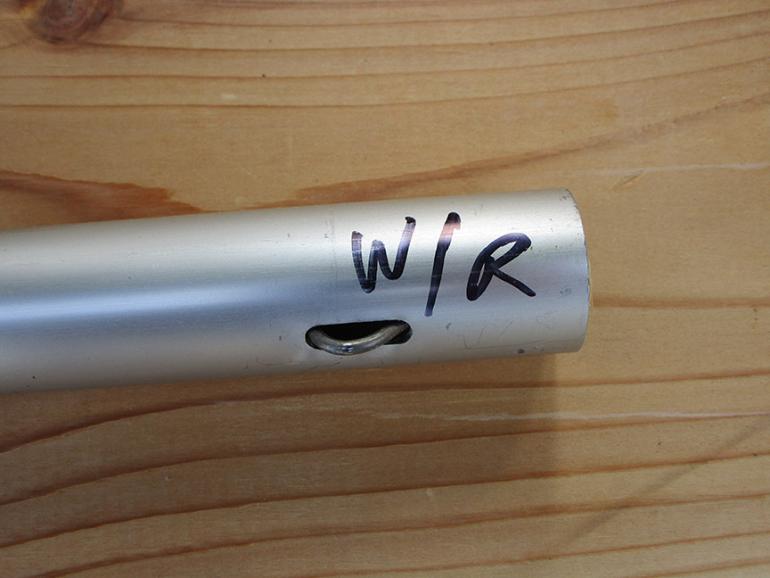
Wall/roof poles are shorter than rafter poles
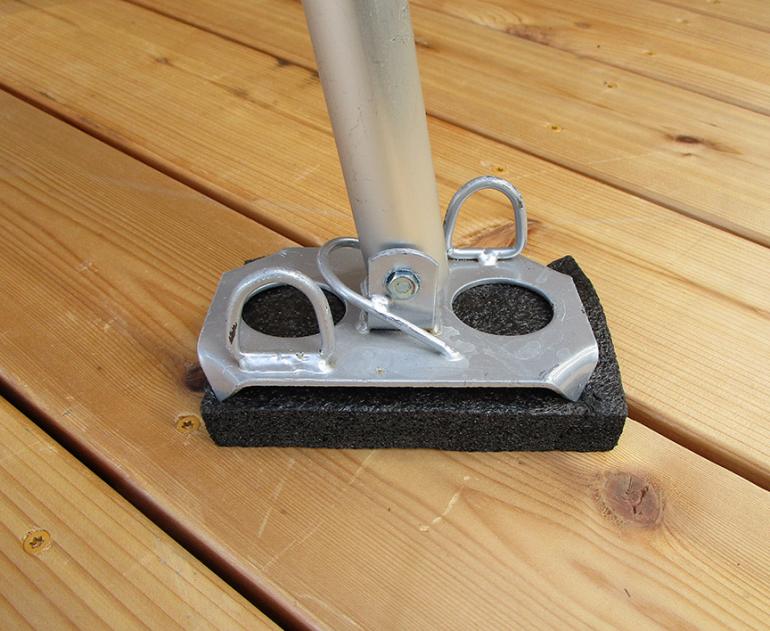
Random foam pieces can be cut to size
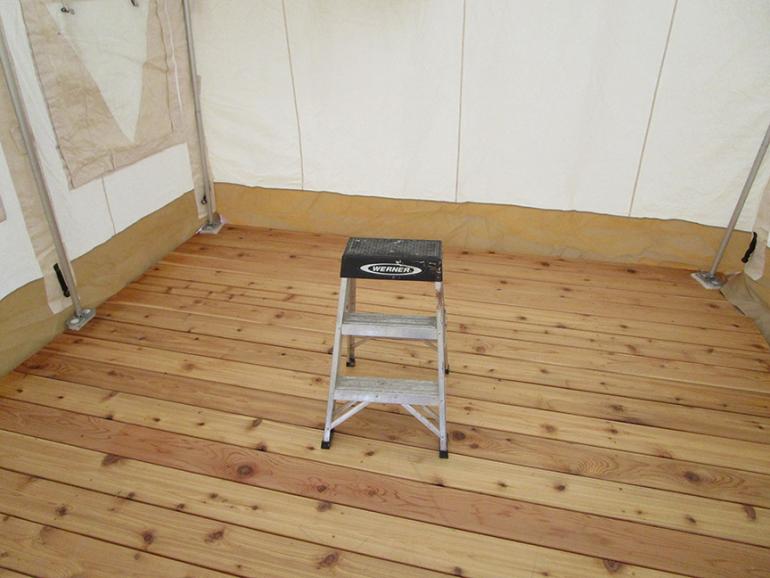
Hard to reach the center pole without one of these
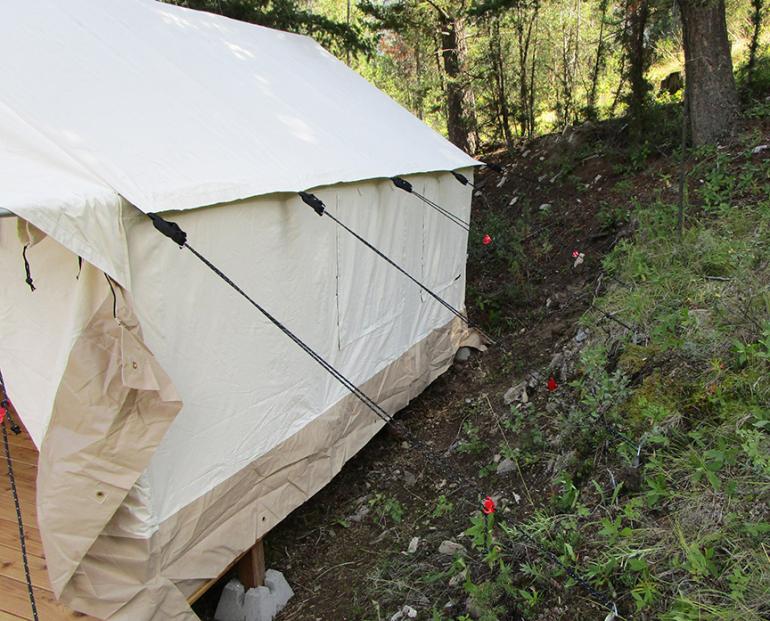
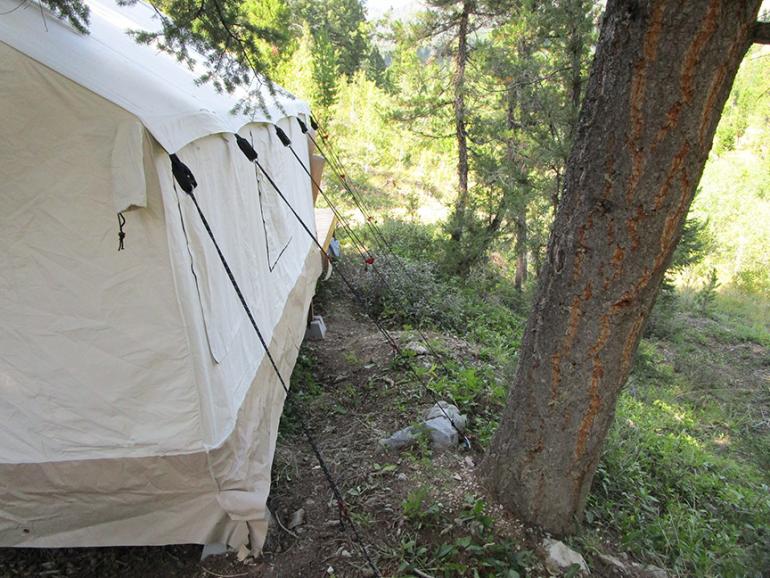
Step Three: Secure the Tent
The guy lines on White Duck tents are strong, and for good reason: in order to withstand the wind, a wall tent's gotta be tight to the ground. I staked out all 10 points (four along each wall and two on the awning), pulled 'em snug, then went back around, tightening each one individually, to maximum tension, until the tent was tight as a drum. Bring on the wind!
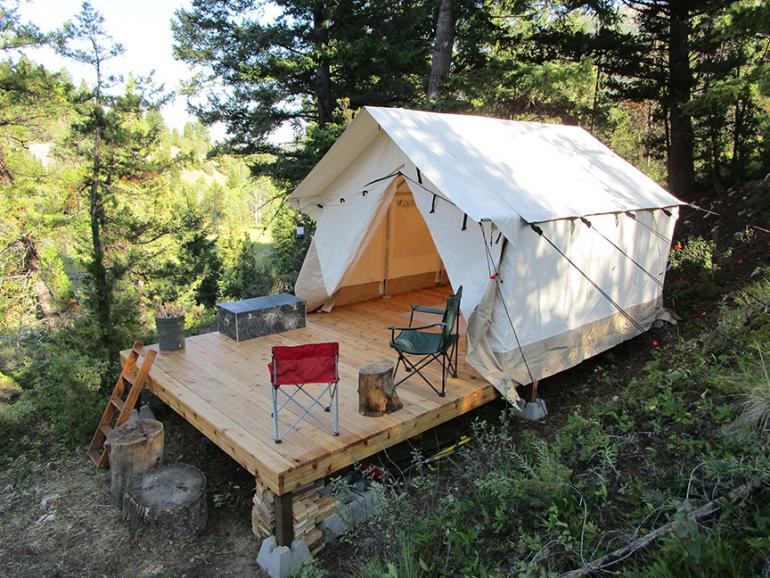
Step Four: Finishing Touches
After bringing in the bedding, I set up a few comfort items: camp chairs, water jugs, a waterproof (and bear-proof) box of cooking supplies, and a couple lanterns. I used an old attic ladder for a temporary staircase (I'll build a better one next year), and stocked up some firewood.
Future improvements include a woodstove, of course, plus a slick plastic tarp to help snow slide off, so we can keep the tent up well into fall, maybe even through the winter.
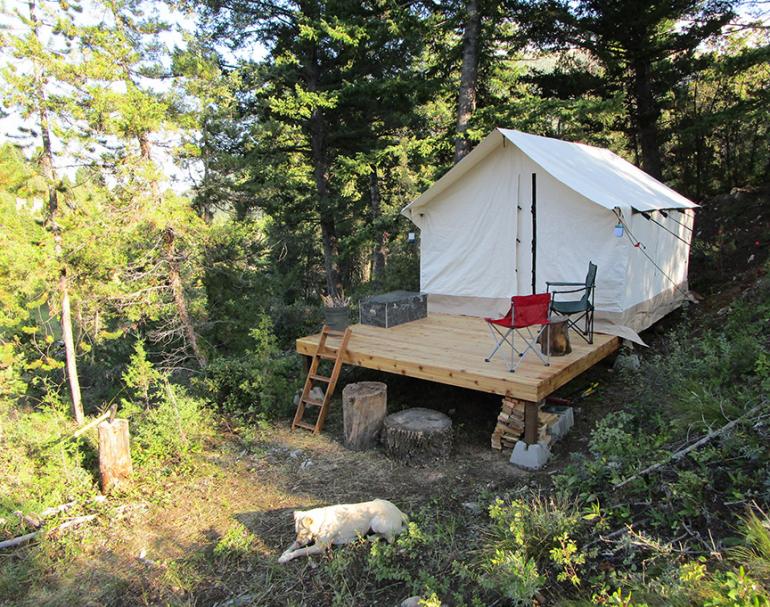
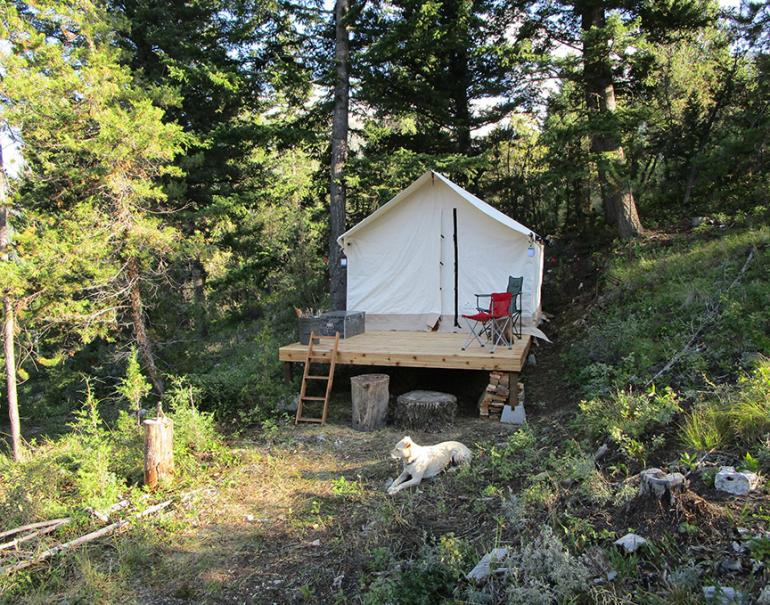
There you have it: a comfy, cozy camp for weekend getaways and hunting trips, all for a few thousand bucks and a few days' work. Not bad, eh?
By the Numbers
Hand-Built Western Red Cedar Platform (10x20): $1,000
White Duck 10x12 Alpha Wall Tent: $2,250
Miscellaneous Camp Items: $250
Total: $3,500
Future Upgrades:
Woodstove & Pipe: $600
Plastic Fly Sheet: $250
Hand-Built Bed Frame: $50
Used Table & Chairs: $50
Total: $950